OpenID4VC - Receive and Store Credential
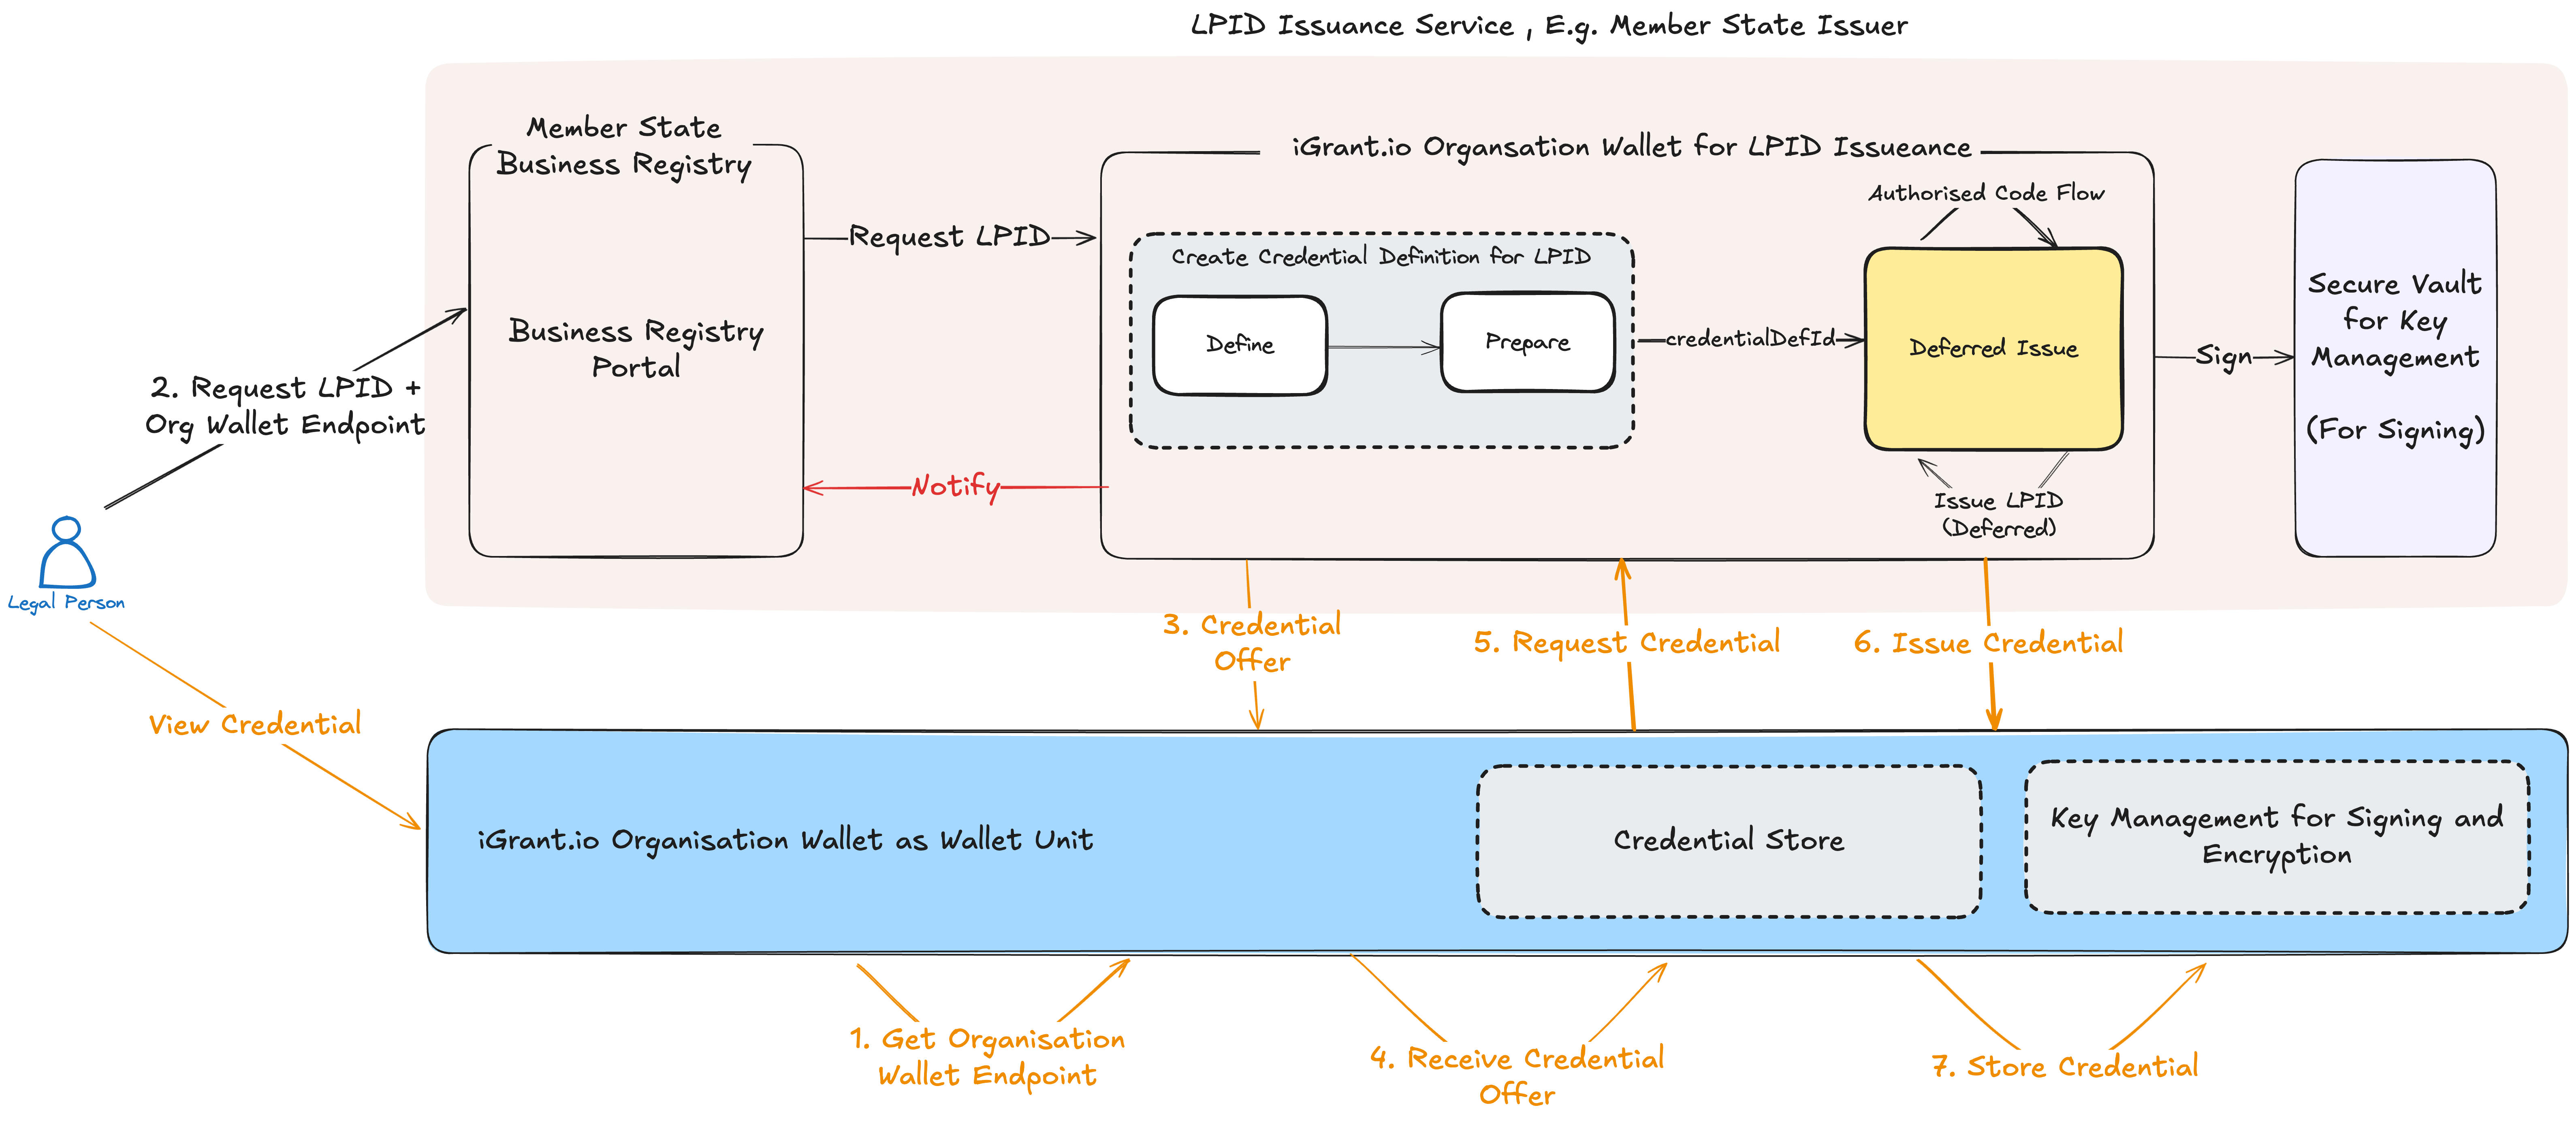
There are two ways to start an issuance:
- With a credential offer from an issuer. The issuer sends you an
openid-credential-offer://URI out-of-band, for example by email or on its website. - From the wallet (wallet-initiated issuance). You name the issuer and the credentials that you want, and the wallet creates the offer itself and starts the Authorization Code Flow.
Prerequisites
- An API key of your main organisation. See Get API Keys. Sandbox organisations do not have a holder wallet, so the holder credential operations return
400for a sandbox organisation. - An operational wallet unit. Read wallet unit status must return
operationalorvalid. Otherwise, the holder operations return400withWallet Unit is not operational.
You do not need to manage any keys: the wallet signs the holder proofs with its own holder keys, so none of the requests has a key field.
Step 1: Receive the Credential
Copy the credential offer that you received from the issuer and send it to Receive credential:
curl -X POST "https://demo-api.igrant.io/v4/config/ows/holder/credentials" \
  -H "Authorization: ApiKey <YOUR_API_KEY>" \
  -H "Content-Type: application/json" \
  -d '{"credentialOffer": "openid-credential-offer://?credential_offer_uri=https%3A%2F%2Fissuer.example.com%2Fcredential-offer%2F6650d3c3"}'
For a wallet-initiated issuance, send the issuer and the keys of the credentials you want from its credential_configurations_supported instead of the offer. You can look up the keys with Read credential issuer metadata.
{
  "credentialIssuer": "https://issuer.example.com",
  "credentialConfigurationIds": ["EmployeeBadgeSdJwt"]
}
Example response (200, shortened):
{
  "credential": {
    "credentialId": "d29a6c1e-4b8f-4a1d-9c3e-7f5b2a0d8e11",
    "credentialStatus": "credential_acked",
    "credentialFormat": "dc+sd-jwt",
    "requiresTransactionCode": false,
    "acceptanceToken": "",
    "authorisationRequest": "",
    "credentialSignerTrustedListCheck": { "verified": true, "result": "trusted", "role": "pid_provider", "entry": { "status": "granted", "roles": ["pid_provider"], "source": { "id": "91ab2c3d-4e5f-4a6b-8c7d-9e0f1a2b3c4d", "name": "EU PID providers", "kind": "etsi_lote", "url": "https://example.eu/lists/pid-providers.xml" } }, "reason": null },
    "issuerTrustedListCheck": null,
    "issuer": { "name": "Example Issuer", "location": "Sweden", "cover": null, "logo": null, "description": "" }
  }
}
Copy the credentialId for the next steps. If the offer contains more than one credential, credential is an array.
Step 2: Finish a Pending Issuance (When Needed)
If credentialStatus is credential_pending, the flow needs one more step:
| The response shows | Next step |
|---|---|
requiresTransactionCode is true | Send the transaction code that the issuer gave the user with Receive credential with user PIN: PUT /v4/config/ows/holder/credentials/{credentialId}/transaction-code with {"transactionCode": "3491"}. txCode tells you the length and character set of the code. |
acceptanceToken is set | The issuance is deferred. Call Receive deferred credential (PUT /v4/config/ows/holder/credentials/{credentialId}/deferred-credential, no body) until the status changes, waiting deferredIntervalSeconds seconds between calls. |
authorisationRequest is set | Open the URL in the user's browser. After the redirect, send the code, state and iss from the redirect with Exchange code and receive credential (POST /v4/config/ows/holder/authorisation-code-exchanges). |
Each of these operations returns the updated credential record.
Step 3: Accept the Credential
Once the record is credential_acked, accept the credential into the holder wallet with Accept credential. The request has no body:
curl -X PUT "https://demo-api.igrant.io/v4/config/ows/holder/credentials/d29a6c1e-4b8f-4a1d-9c3e-7f5b2a0d8e11/acceptance" \
  -H "Authorization: ApiKey <YOUR_API_KEY>"
The status changes to credential_accepted, and the wallet notifies the issuer. To decline the offer instead, delete the credential.
Step 4: List the Stored Credentials
To list the credentials stored in the wallet, use List credential:
curl "https://demo-api.igrant.io/v4/config/ows/holder/credentials?credentialStatus=credential_accepted&groupBatches=true" \
  -H "Authorization: ApiKey <YOUR_API_KEY>"
The response contains credential (an array) and pagination. With groupBatches=true, the copies of a batch issuance are grouped into a single row.
To follow issuances as they happen, open the notification stream. From a browser, first get a one-time ticket with Create SSE ticket, so that your API key stays on your server.
When a credential is offered, the wallet checks whether the issuer can be matched against a recognised trust list, such as the EU Trust List. If it cannot, the Data Wallet shows an "Issuer not verified" warning. This is a trust indicator, not a validation failure. See The "Issuer not verified" notice and Trust in the Wallet Ecosystem.